
Mastering Low-Light Photography Techniques
- Donovan Evans-Foto Dono

- Oct 8, 2025
- 4 min read
Capturing the beauty of Florida’s landscapes and the Milky Way under the cloak of night is a passion that drives me. As the Director of Photo Education at Johnson PhotoImaging, I’ve had the privilege of guiding many photographers on their journey to mastering the art of low-light photography. This post is a deep dive into the techniques that can help you create stunning images when the light is scarce. Whether you’re chasing the stars or exploring dimly lit scenes, these insights will elevate your craft and help you produce fine art prints that truly stand out.
Essential Low-Light Photography Techniques
Low-light photography can be challenging, but with the right approach, it becomes an exciting playground for creativity. Here are some fundamental techniques I rely on to capture sharp, vibrant images in dim conditions:
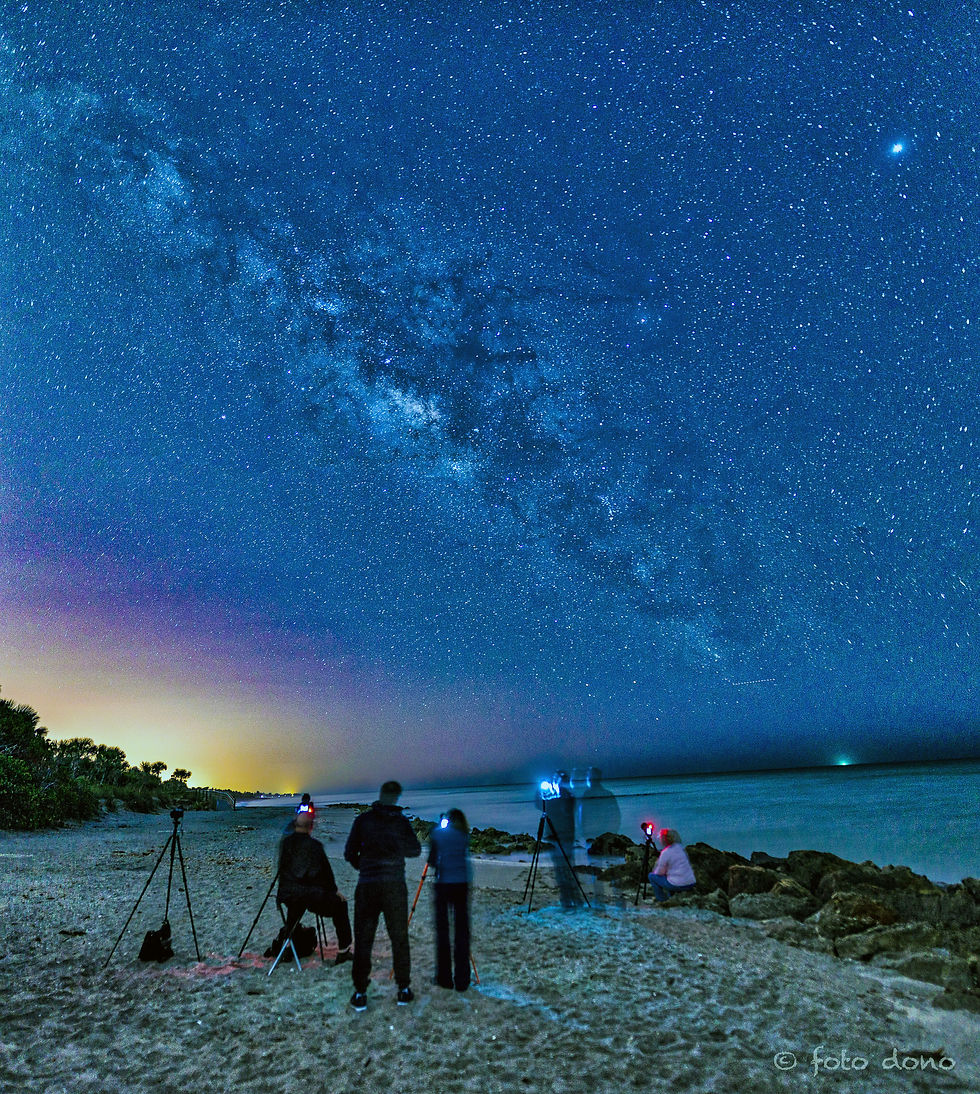
Use a Tripod: Stability is key. A sturdy tripod prevents camera shake during long exposures, allowing you to capture crisp details even when shutter speeds slow down to several seconds or more.
Open Your Aperture: Use a wide aperture (small f-number) to let in as much light as possible. Lenses with apertures like f/1.8 or f/2.8 are ideal for low-light conditions.
Increase ISO Sensibly: While higher ISO settings make your sensor more sensitive to light, they also introduce noise. Find the balance where your image remains clean but bright enough.
Manual Focus: Autofocus struggles in low light. Switch to manual focus and use live view zoom to fine-tune your focus on critical details.
Shoot in RAW: RAW files retain more image data, giving you greater flexibility in post-processing to recover shadows and highlights.
By combining these techniques, you can unlock the full potential of your camera and create images that capture the mood and atmosphere of low-light scenes.
Understanding Exposure Settings for Low-Light Photography Techniques
Mastering exposure is crucial when working in low light. The exposure triangle - aperture, shutter speed, and ISO - must be balanced carefully:
Aperture controls how much light enters the lens. A wider aperture lets in more light but reduces depth of field.
Shutter Speed determines how long the sensor is exposed to light. Longer shutter speeds gather more light but require a tripod to avoid blur.
ISO amplifies the sensor’s sensitivity to light. Higher ISO can brighten images but may introduce grain.
For example, when photographing the Milky Way, I often use settings like f/2.8, 20-second shutter speed, and ISO 3200. This combination captures enough light to reveal stars without excessive noise or star trails. I use this as a general default for my settings.
Experimenting with these settings in different environments will help you understand how to adjust for the best results. Remember, every scene is unique, so don’t hesitate to tweak your settings based on the available light and your creative vision.

What is the 20 60 20 Rule in Photography?
The 20 60 20 rule is a compositional guideline that can also be applied to low-light photography to create balanced and engaging images. It suggests dividing your frame into three horizontal sections:
20% Foreground: Adds depth and context to your image.
60% Middle Ground: The main subject or area of interest.
20% Background: Complements the scene and adds atmosphere.
In low-light scenarios, this rule helps you structure your composition so that the viewer’s eye naturally flows through the image. For instance, when shooting a nighttime landscape, you might include illuminated foreground elements like rocks or plants, the starry sky as the middle ground, and distant silhouettes or horizon as the background.
Applying this rule encourages thoughtful framing and ensures your low-light images are not only technically sound but also visually compelling.

Practical Tips for Shooting in Low Light
Beyond the technical settings, there are practical strategies that can improve your low-light photography experience:
Scout Your Location During Daylight: Familiarize yourself with the scene to plan your composition and identify potential light sources or obstacles.
Use a Remote Shutter Release or Timer: This minimizes camera shake when pressing the shutter button.
Bring Extra Batteries: Long exposures and cold nights drain batteries faster.
Experiment with Light Painting: Use a flashlight or other light source to selectively illuminate parts of your scene during a long exposure.
Leverage Natural Light Sources: Street lamps, moonlight, or even distant city lights can add interesting elements to your composition.
If you want to dive deeper into these strategies, I recommend checking out this low light photography tips resource that offers a community and expert advice to help you grow.
Developing Your Artistic Vision in Low-Light Photography
Technical skills are essential, but what truly sets your work apart is your artistic vision. When shooting in low light, think about the mood you want to convey. Do you want to capture the serene calm of a moonlit beach or the dynamic energy of a city at night?
Consider these creative approaches:
Silhouettes: Position your subject against a bright background to create striking shapes.
Reflections: Use water or glass surfaces to add depth and interest.
Color Contrast: Look for contrasting warm and cool light sources to create visual tension.
Motion Blur: Capture movement like flowing water or passing cars to add dynamism.
Each of these techniques can transform a simple low-light scene into a compelling fine art print. As someone who sells prints of Florida’s landscapes and the Milky Way, I find that these creative choices resonate deeply with collectors and viewers alike.

Mastering low-light photography techniques is a journey that combines technical knowledge, practical skills, and artistic intuition. With patience and practice, you can create images that not only capture the beauty of the night but also tell a story that connects with your audience. Keep exploring, experimenting, and sharing your vision - the night is full of possibilities waiting to be discovered.


Comments